Guide: Setting Up a Personal Ethernet Network
This tutorial walks through how to create a clean and expandable wired network setup using a switch. The goal is to connect multiple devices while keeping cable management organized.
Tools & Materials
- Cat6 Ethernet cables
- 5-port network switch
- Cable routing track
- Zip ties (preferably reusable)
- Ethernet crimping tools (optional)
Step-by-Step Guide
Step 1: Plan Your Layout
Identify where your router is located and where each device will sit. Plan a cable path that avoids clutter and keeps cables hidden when possible.
Tip: Measure distance before running cable to avoid waste.
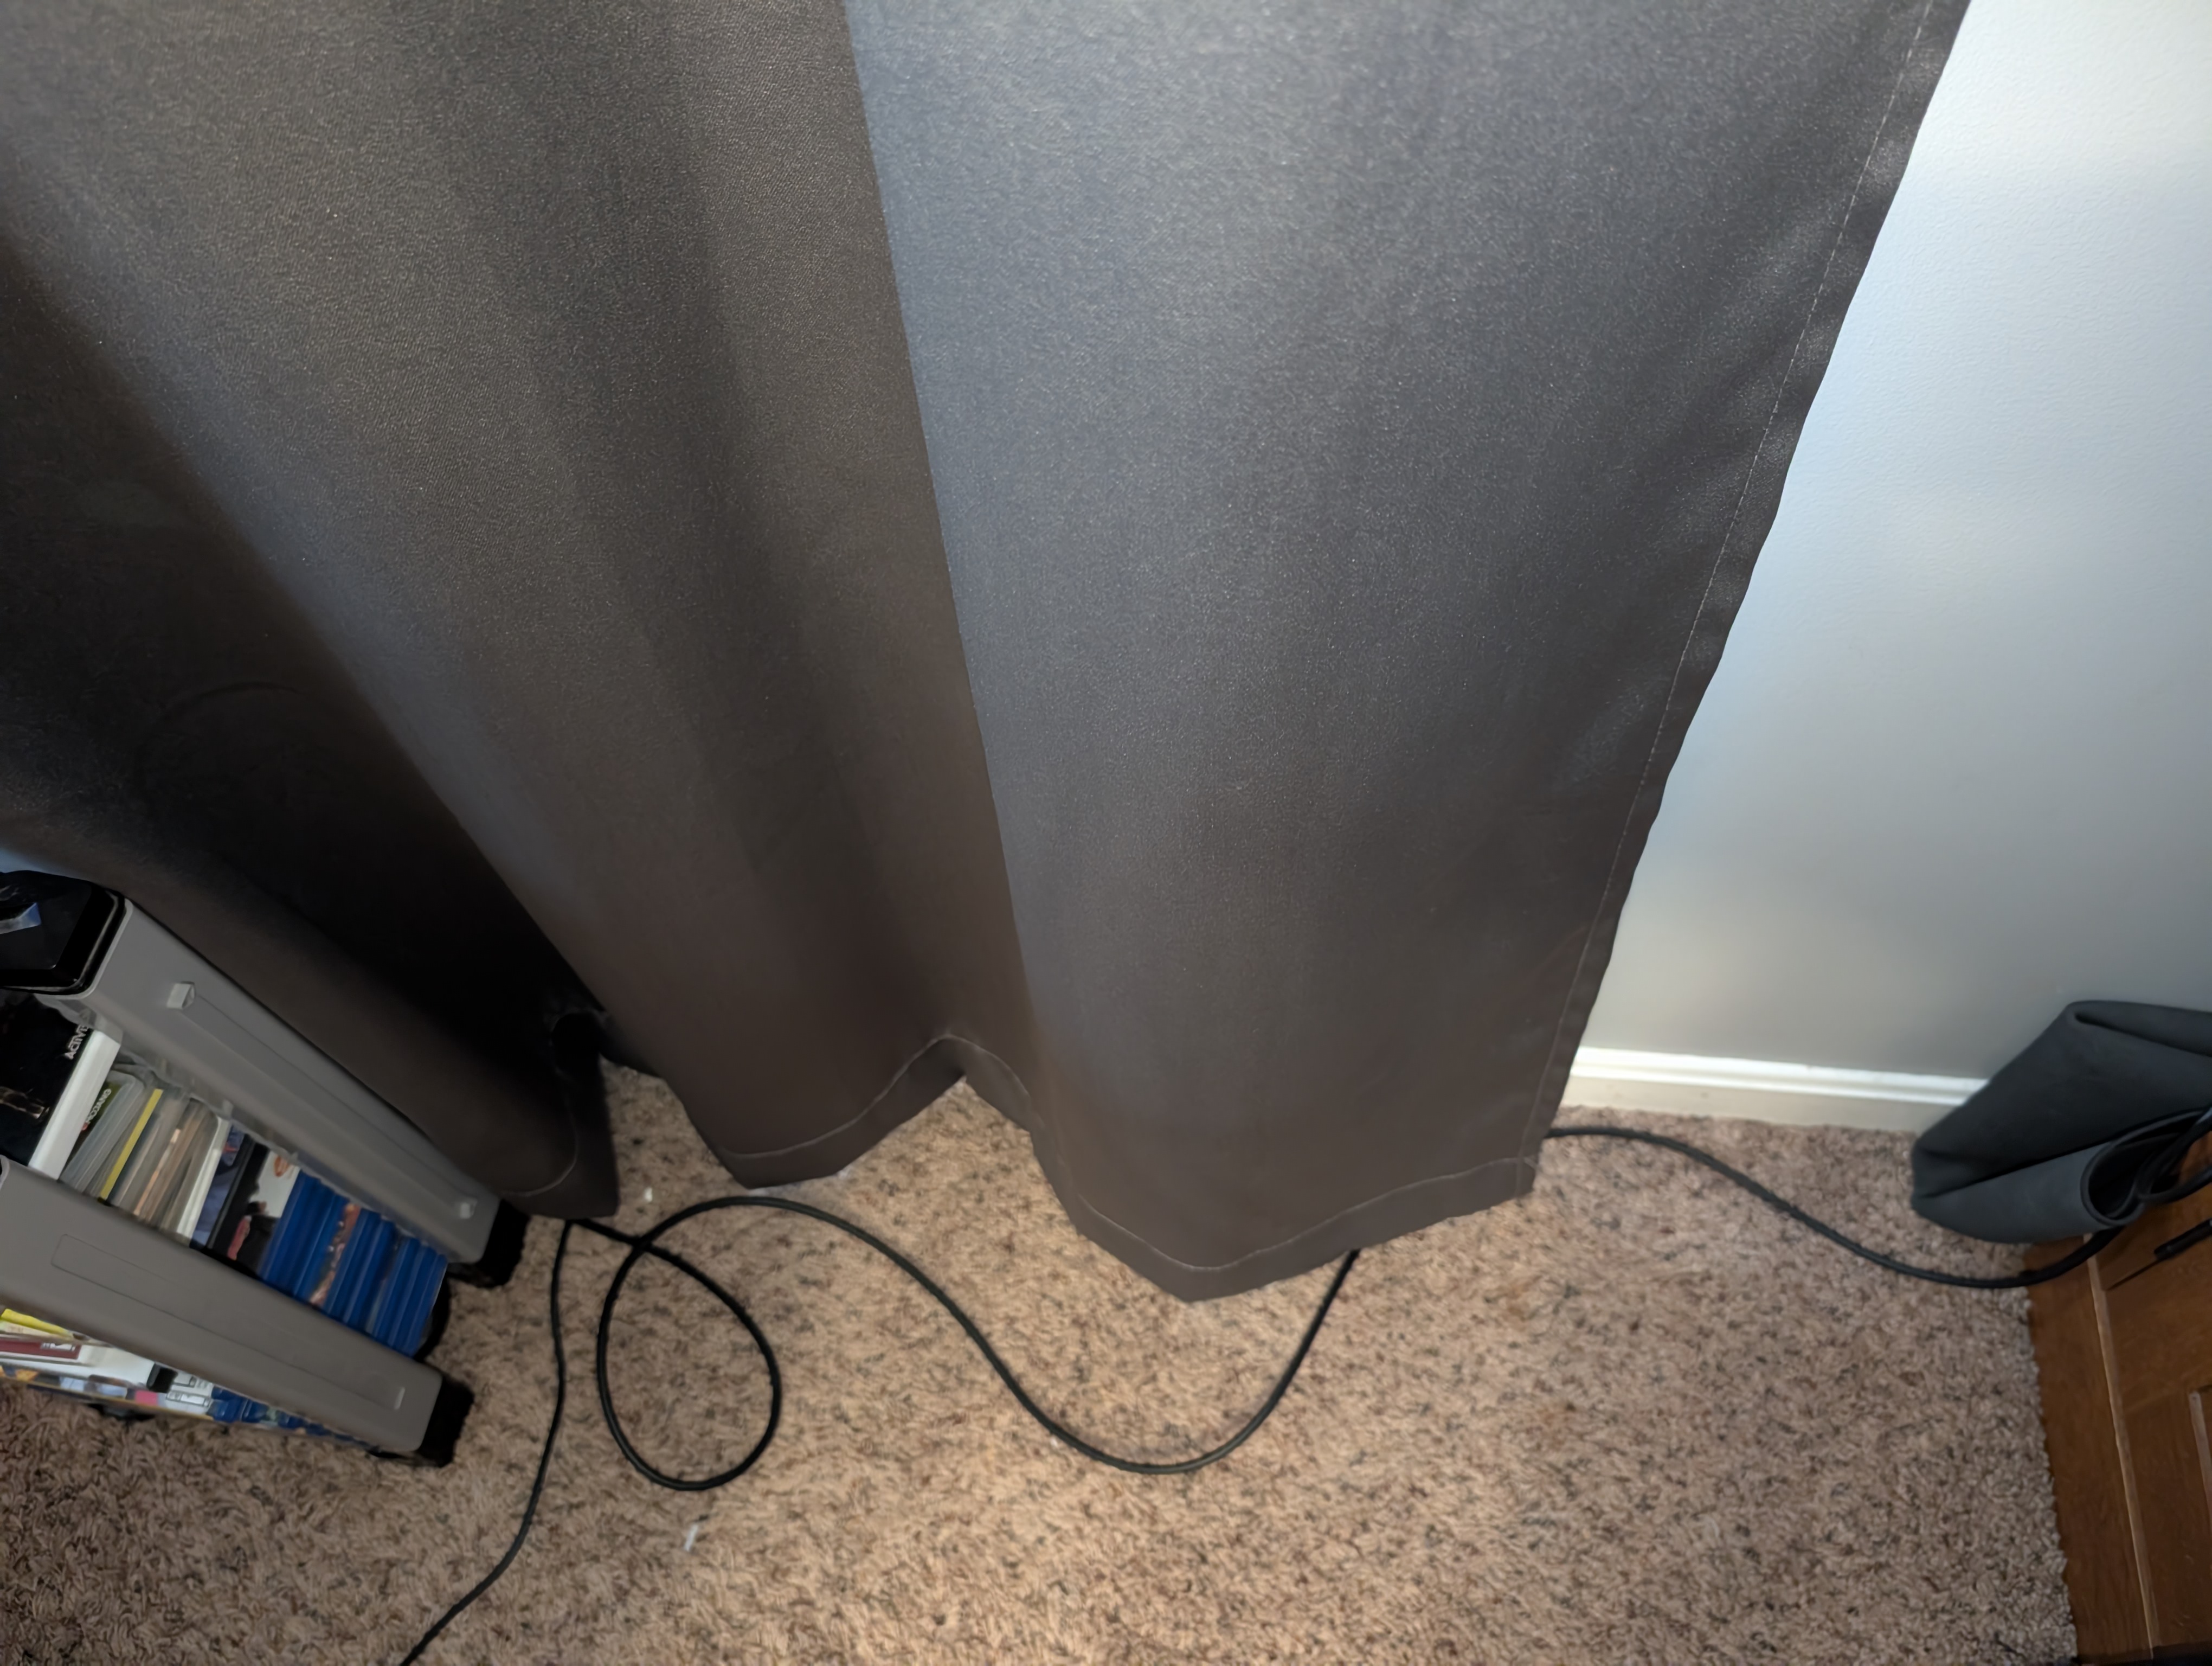
Step 2: Run and Secure the Cable
Route the ethernet cable along walls or floors using cable tracks. Secure cables using clips or zip ties to prevent movement.
Tip: Keep cables tight against edges for a cleaner look.
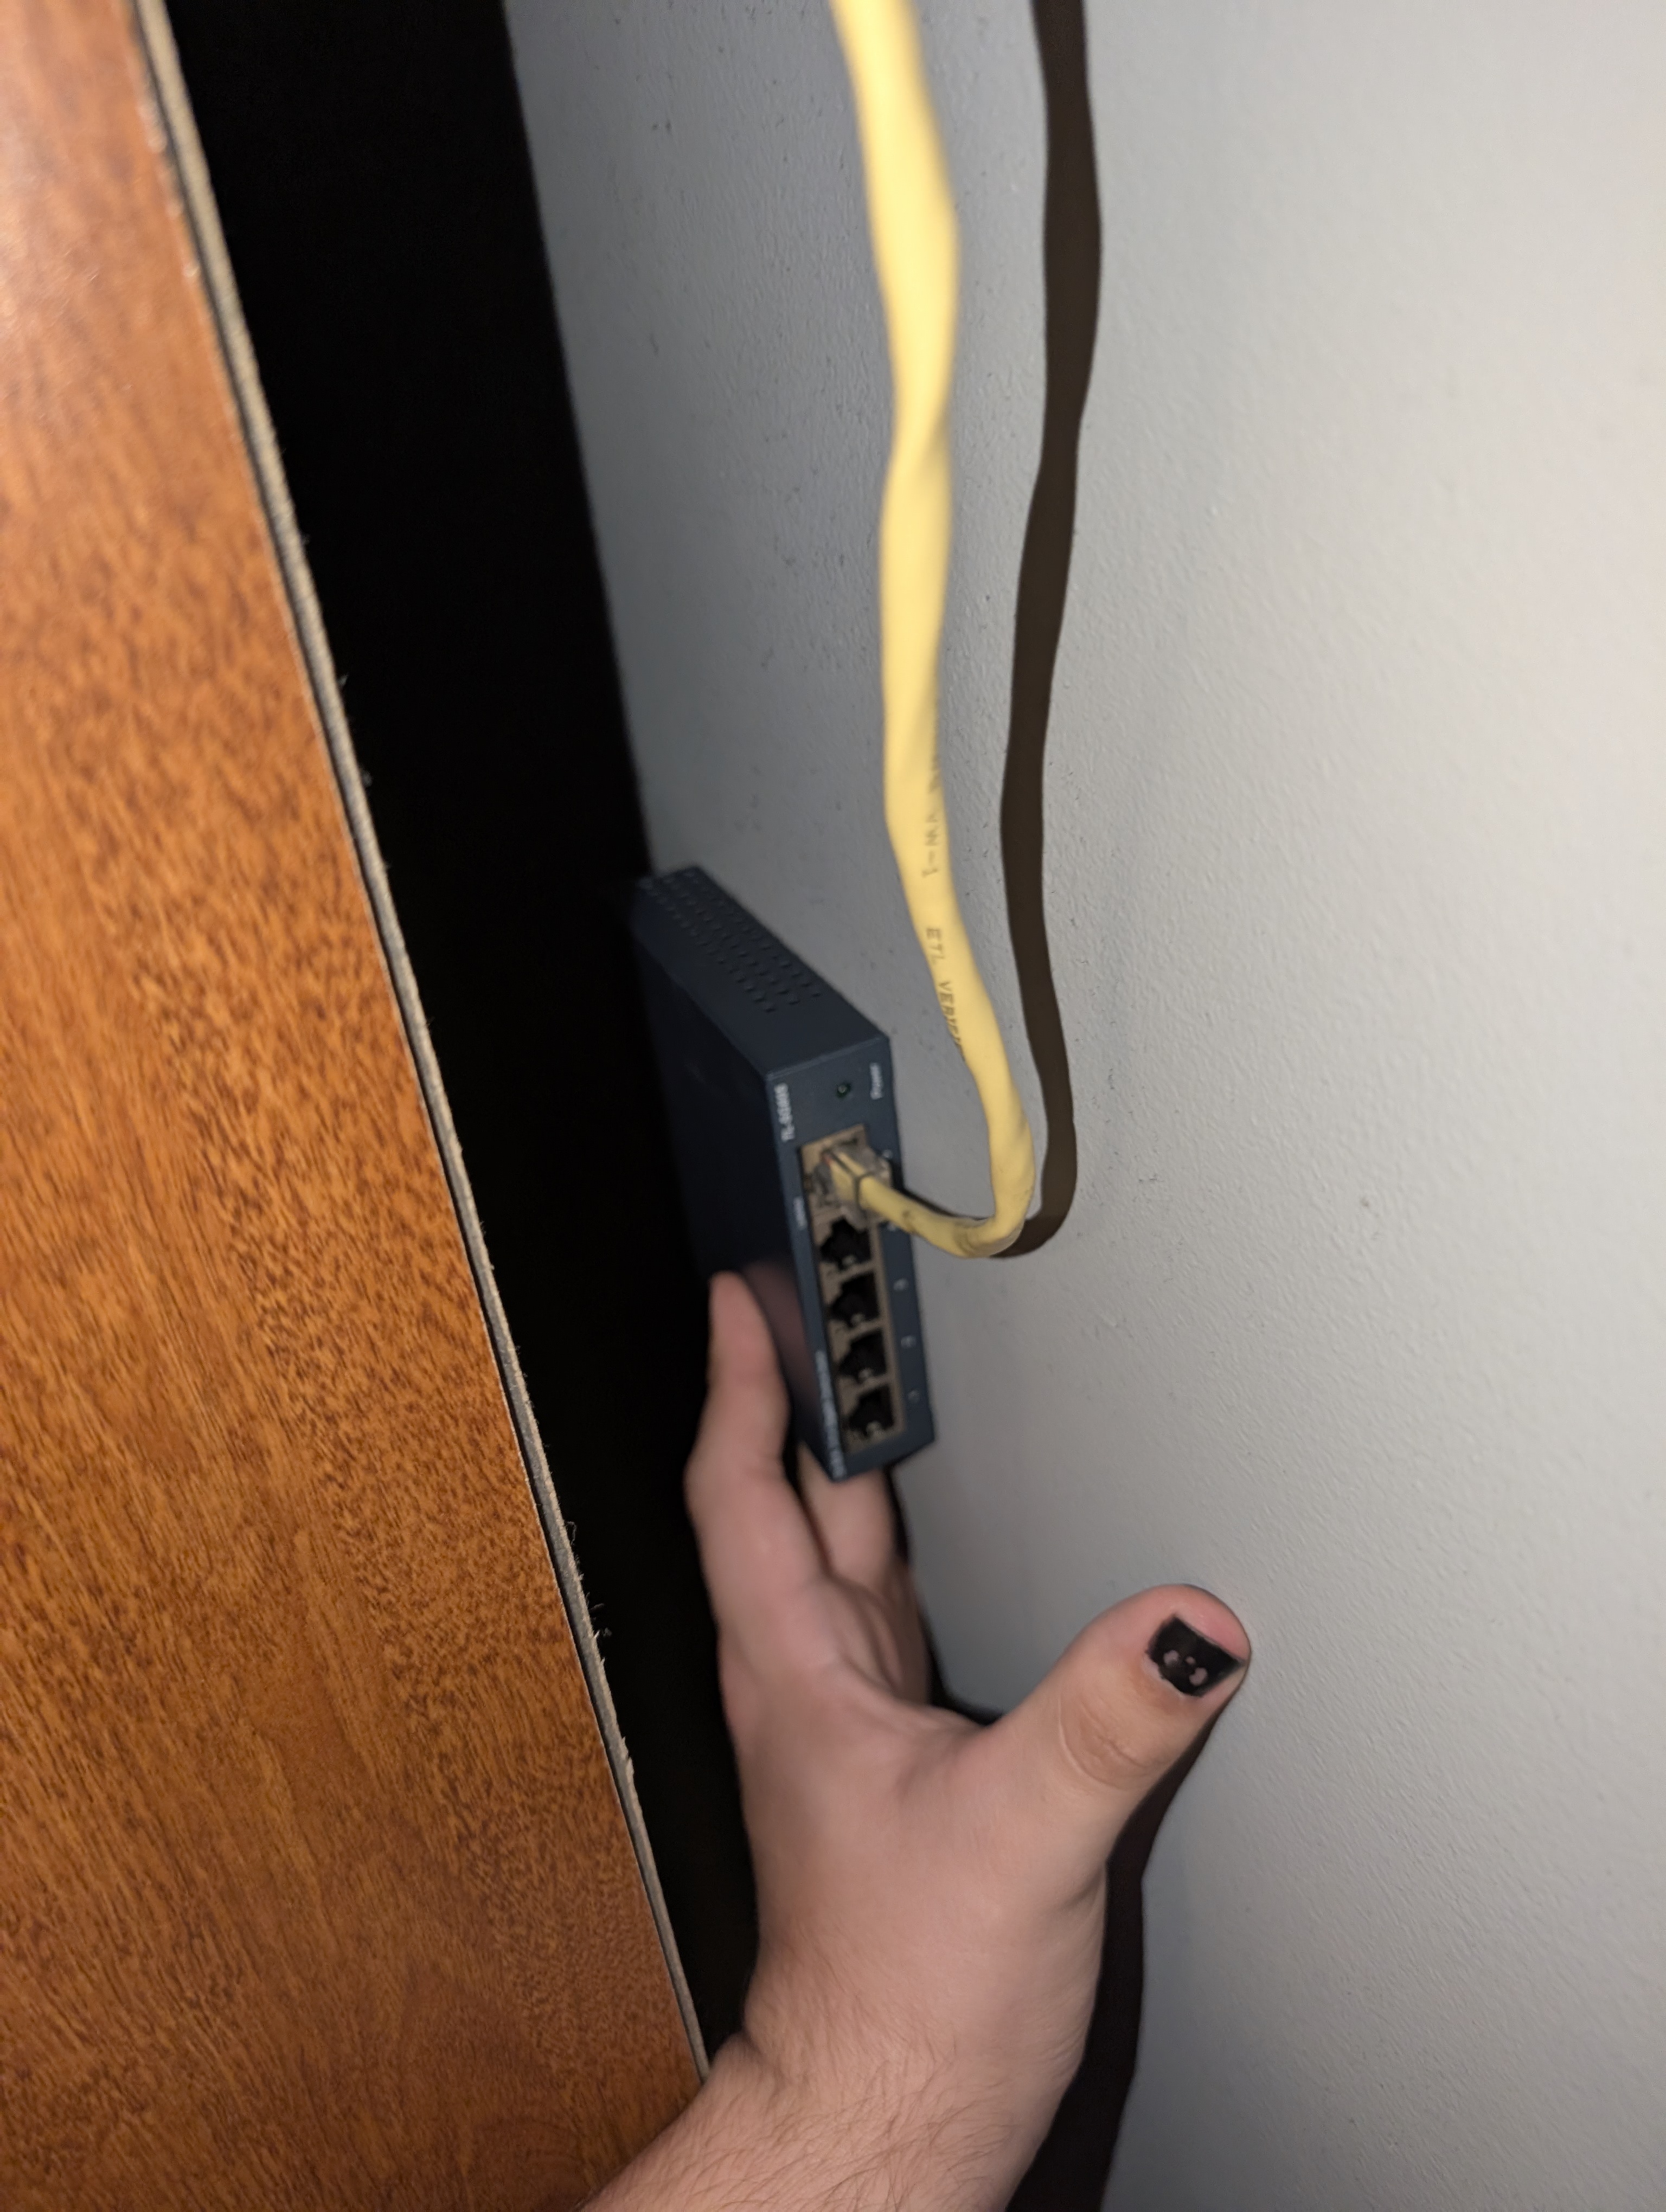
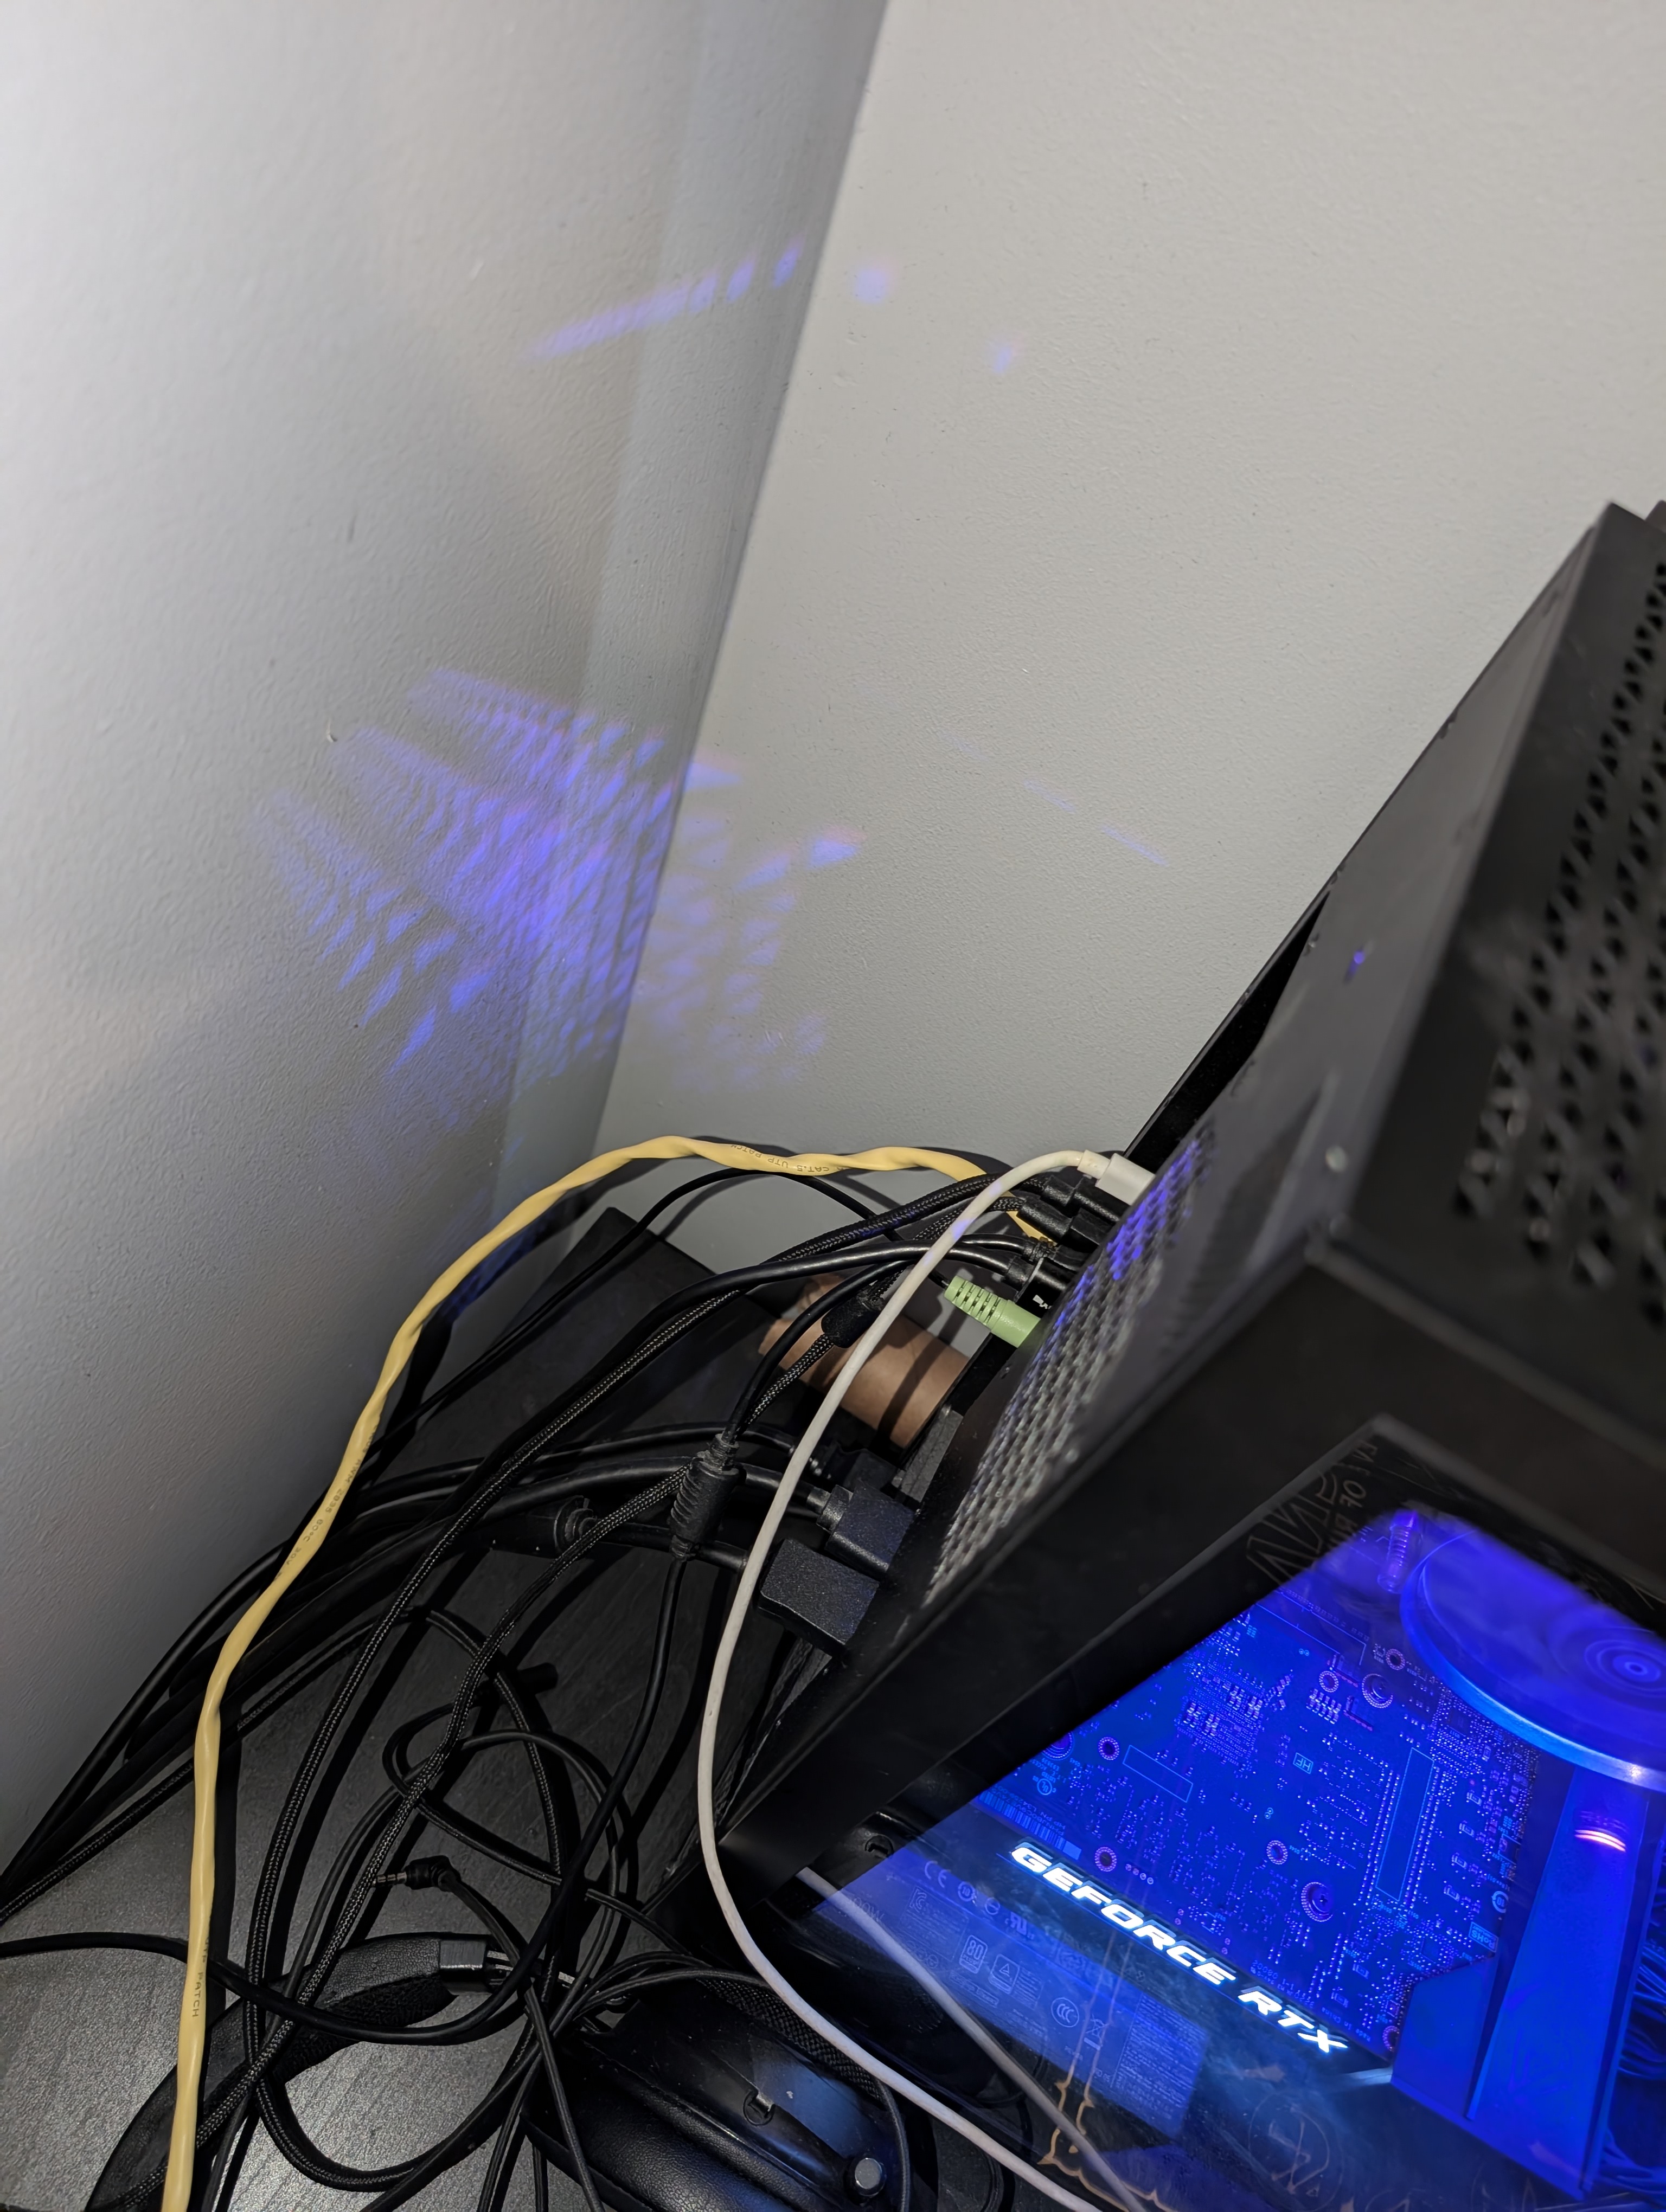
Step 3: Connect to the Switch
Plug the main ethernet line into the switch, then connect each device (PC, console, AV receiver) into the remaining ports.
Tip: Leave one open port for future expansion (like a NAS).
Final Result
You now have a clean, wired setup that improves connection stability and allows for easy upgrades in the future.
What I Learned
This project helped me understand network hardware, cable management, and how to design setups that are both functional and scalable.